
On a perfume gift set, a press kit or a premium catalogue, Sometimes, everything hinges on just a few square centimeters of cover. Layering gilding, embossing, and 3D spot varnish can transform a good project into a true collector's item… or into an illegible, cluttered, and fragile object in production. The key lies in combining luxury embellishment techniques in the right order, with the right materials and the right level of restraint.
This article offers a practical guide for art directors and production managers who want to orchestrate multiple finishes on the same substrate. You will find application order guidelines, compatibility information, common mistakes to avoid, and examples of successful combinations. gift sets and high-end catalogs. The objective is simple: to get the best out of the embellishments, without compromising on readability, industrial feasibility or durability.
Layering gilding, embossing, and selective varnishing: the art of combining embellishments without overloading
Reading time: ~12 min
- Understanding the families of luxury goods
- The golden rules before combining multiple ennoblements
- Order of application and technical compatibilities
- Examples of successful combinations on premium gift sets and catalogs
- Things to do and things not to do
- FAQ
- Synthesis
Understanding the families of luxury goods
The printed base
It encompasses four-color process printing or Pantone inks, often highly pigmented, as well as metallic, fluorescent, or white inks on tinted substrates. A poorly controlled base (excessive ink coverage, visible halftone pattern, color shift) compromises the precision of the photogravure and the sharpness of selective varnishes.
Surface finishes
Matte, glossy or soft-touch lamination; full-page acrylic or UV machine varnish: these layers protect the print and determine the adhesion of gilding or the cleanliness of a 3D selective varnish.
Visual contrast enhancements
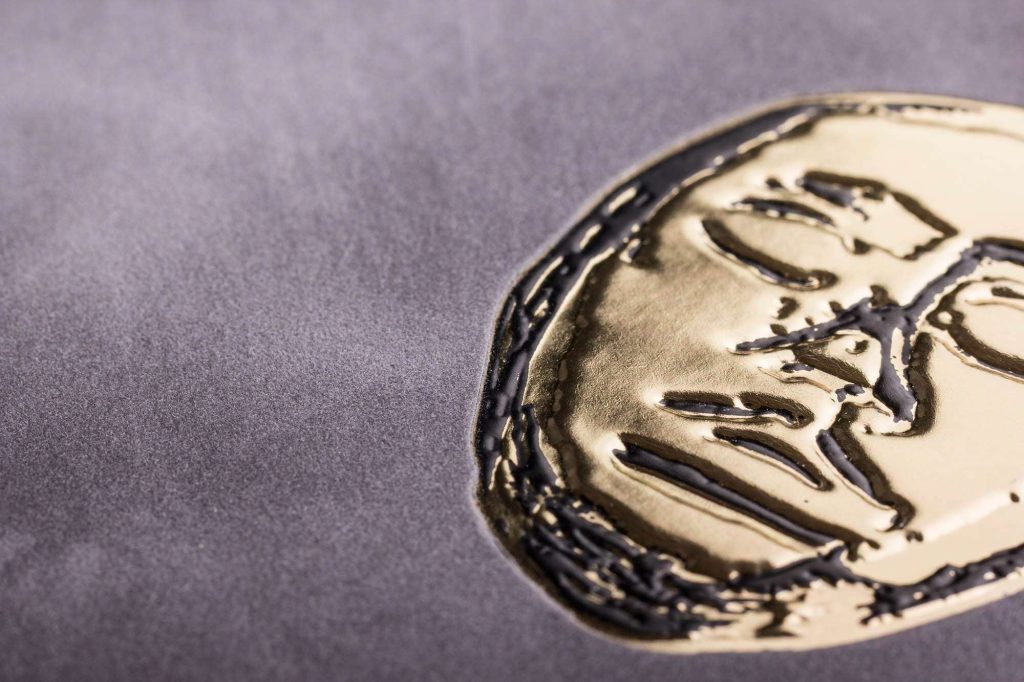
Hot or cold gilding (metallic, pigmentary, holographic) and selective varnishes (UV, glossy, matte, 3D) play on light, gloss/matte contrast or micro-texture.
Relief enhancements
Embossing to raise the pattern, debossing to hollow it out: they add tangible volume and tactile memory.
The golden rules before combining multiple ennoblements
Start with paper support and engineering
Weight and rigidity: Cardboard that is too thin will deform with pronounced embossing or multi-pass gilding.
Fiber type and smoothing: Bulky paper absorbs more; coated paper shines but shows the repressions.
Mass dye or white coating: Gilding, varnishing and embossing react differently depending on the substrate.
Think "industrial sequence"«
| Stage | Operation |
|---|---|
| 1 | Background printing (CMYK or Pantone) |
| 2 | Overall lamination or varnishing |
| 3 | Selective varnishing (UV or 3D) |
| 4 | Hot or cold gilding |
| 5 | Embossing or debossing |
Changing this order without consultation increases the risks of misalignment, cracking or loss of shine.
Limit the number of visual "heroes"
Only one main element per area (for example logo: gold foil + embossing); the other areas receive at most one effect, or none at all, in order to preserve legibility and hierarchy.
Application order and technical compatibilities for layering gilding, embossing, and selective varnishing
Varnish before or after gilding
As a general rule, varnishing is applied first, then gilding: the varnish stabilizes the print and prevents a subsequent varnish from dulling the metallic sheen. Localized protection over gilding is possible but should be tested.
Selective varnishing and gilding in the same area
Exactly overlapping the two eliminates one of the effects. Suitable alternatives: varnish around the gilding to create a halo, 3D varnish on a nearby motif, or varnish slightly overlapping to frame the metal.
Embossing and gilding layered on top of each other
Two approaches: flat gilding followed by separate embossing, or hot stamping combining both in a single pass with a male/female die. Ensure the depth is proportional to the paper weight and avoid cracking on large metallic areas.
Examples of successful combinations on premium gift sets and catalogs
Niche perfume gift set
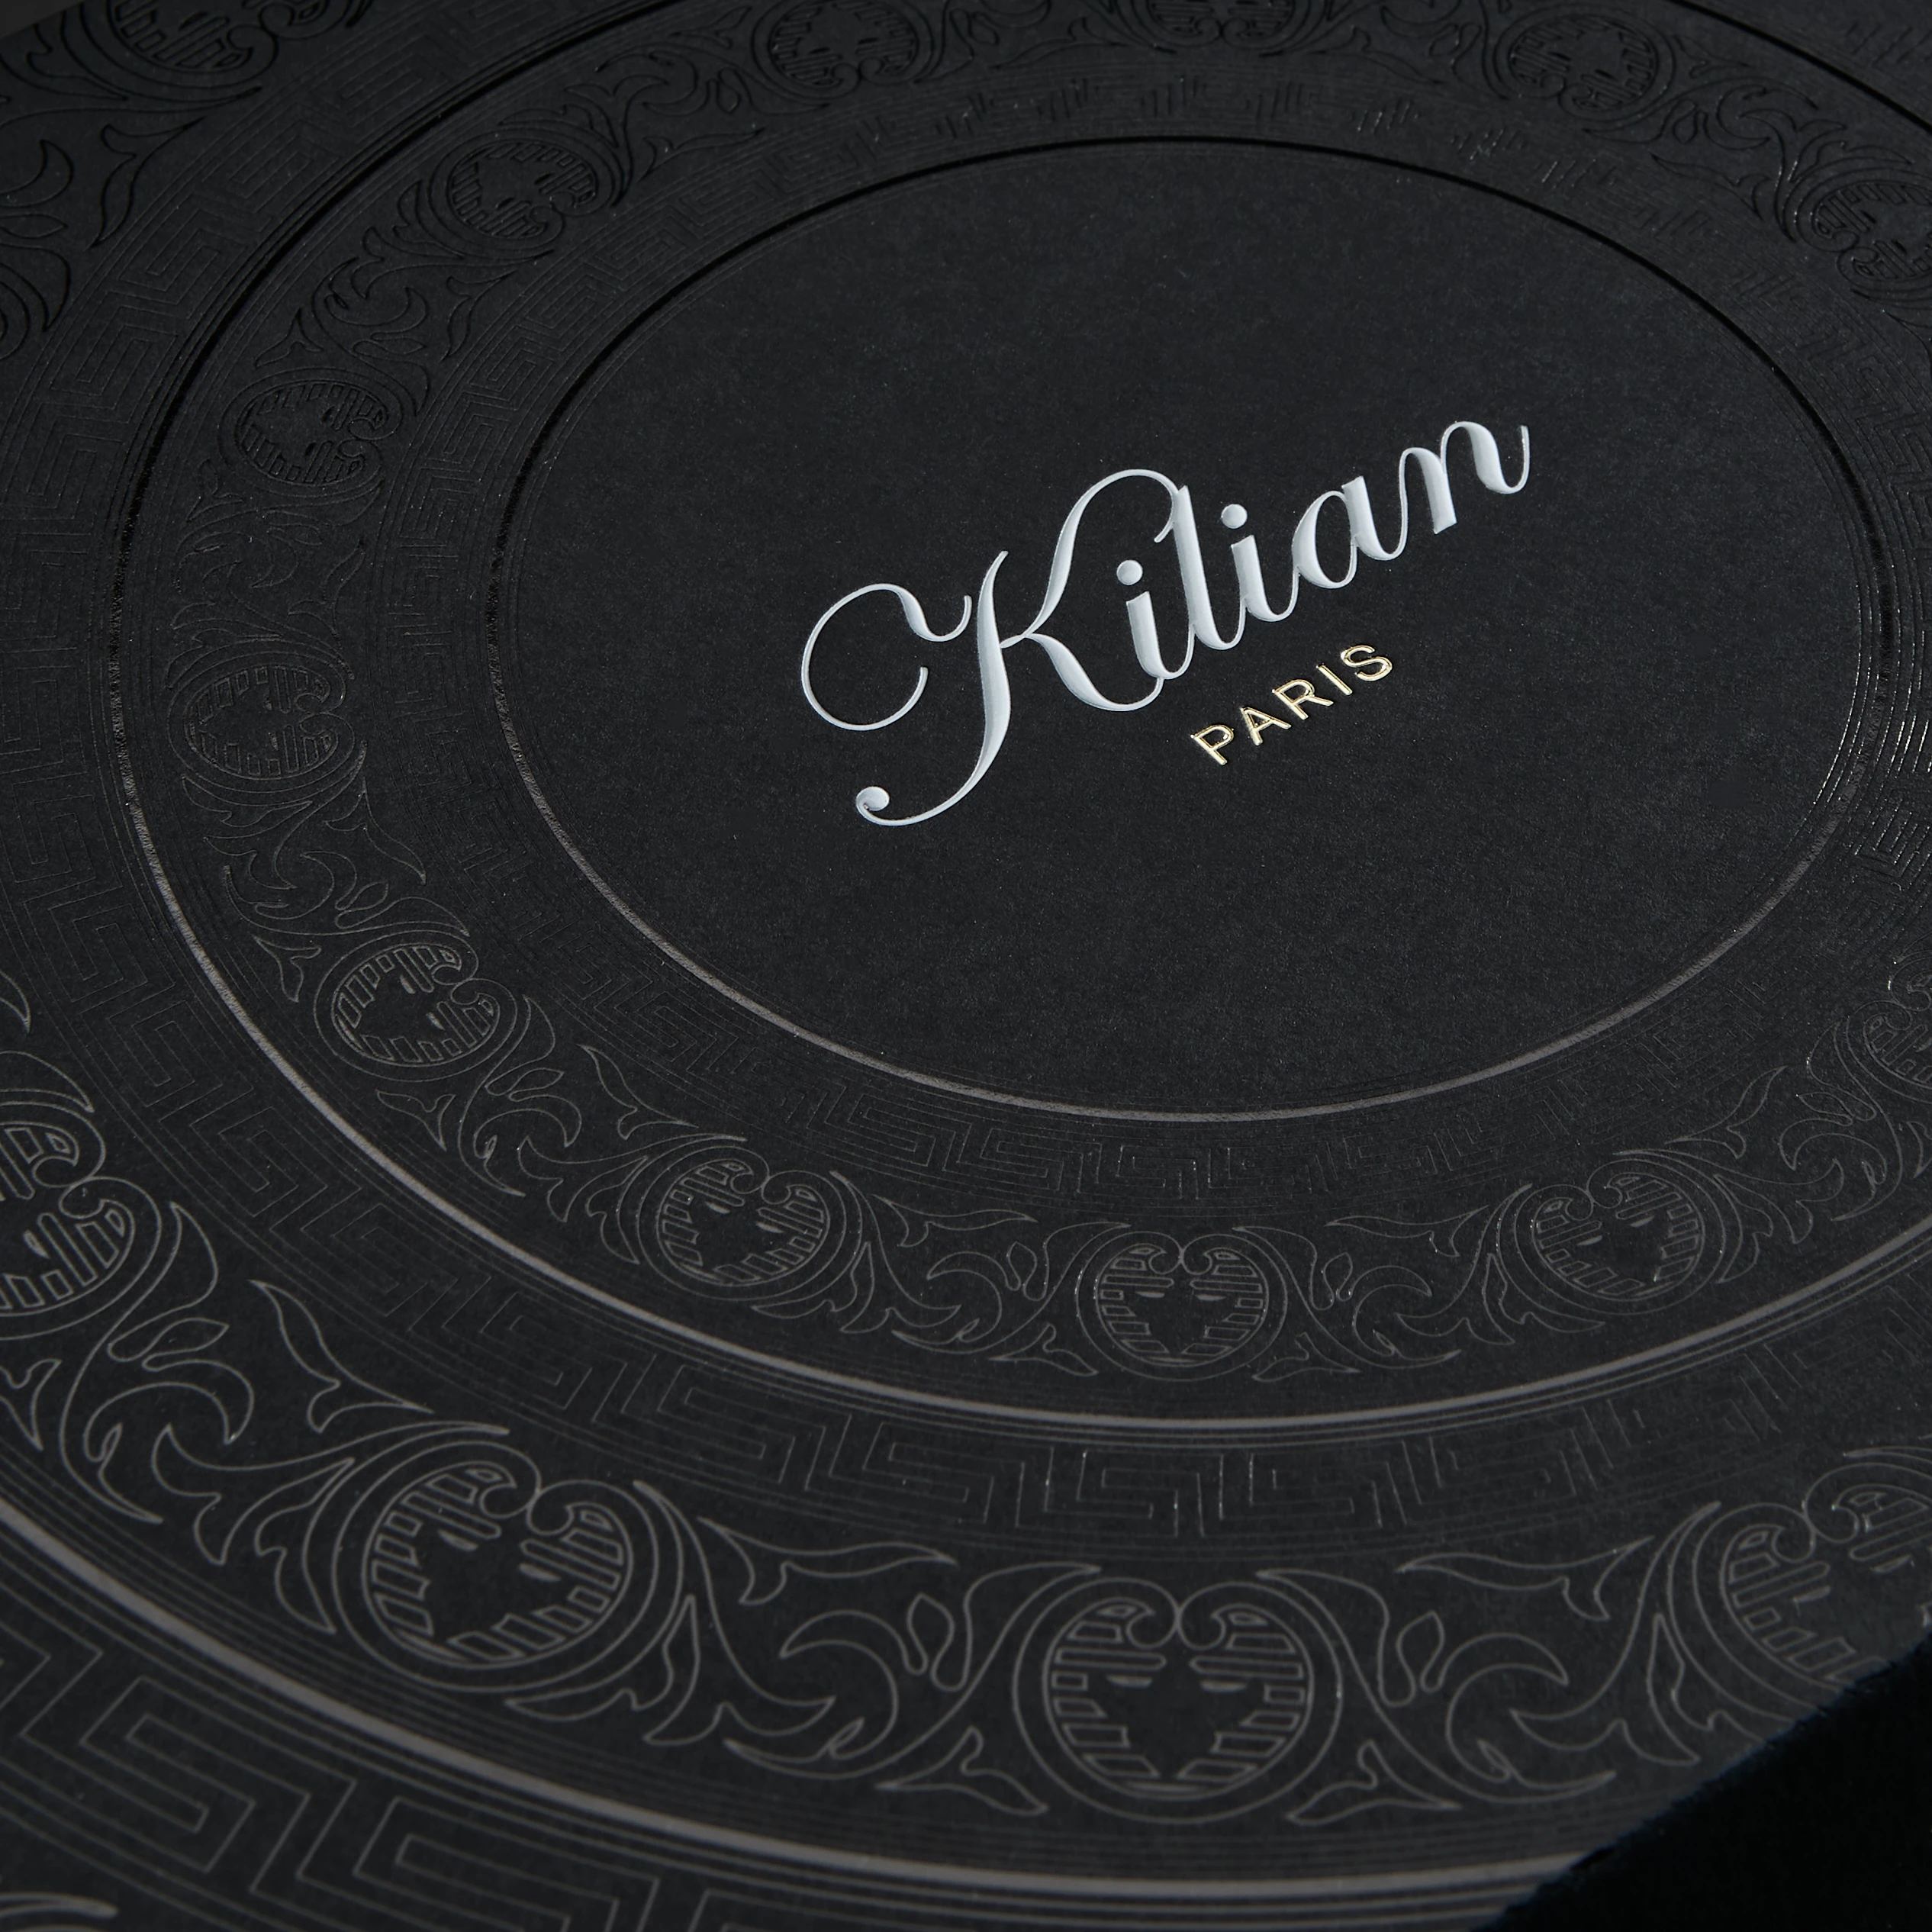
Dark rigid cardboard, soft-touch exterior lamination, pale gold logo with local embossing, discreet selective varnish on secondary motif: a single hero (the brand) but several sensory layers.
Bespoke spirits gift set (premium cognac)
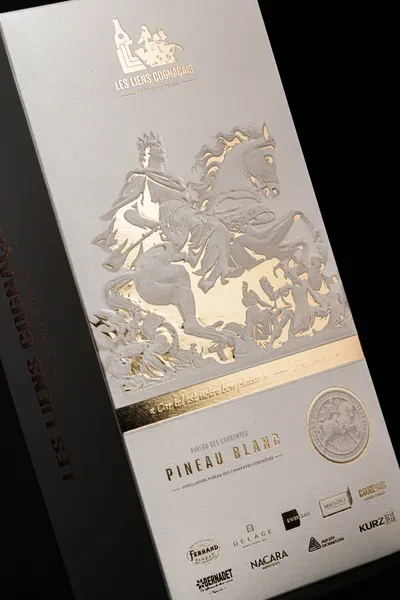
Heavyweight matte coated support, 3D varnished engraving pattern, copper gilding on the brand, light debossing around the medallion: the varnish gives an "engraved" feel, the gilding stands out clearly.
High-end catalogue or art book
Hardcover in creative paper, dense Pantone title, discreet gilding on the name, partial embossing of an abstract pattern, selective glossy varnish in the image: matte/glossy/metallic contrast, breathing areas preserved.
Things to do and things not to do
| To do | Don't do |
|---|---|
| Validate the paper from the outset with a technician; work in separate layers; limit each embellishment to a specific role; prototype on the actual material. | Systematically layer all effects; choose a highly textured background without testing readability; forget folds and cutouts when placing reliefs; decide on lamination after the fact. |
FAQ
How to avoid the "wallpaper" effect?
Prioritize: one main element receives the strong combination (e.g., gold foil + embossing); the others are understated, and some areas remain blank to allow the whole to breathe.
Using 3D varnish on a textured surface?
It's possible, but the natural texture distorts the varnish. For fine typography, opt for a less textured paper or try a pilot press.
Should you choose cold or hot gilding?
Cold foil stamping excels on large metallic surfaces or fine textures, especially on coils or heat-sensitive substrates. Hot foil stamping remains the gold standard for dense solid areas, maximum gloss, and deep embossing on rigid cardboard.
Synthesis
Combining gilding, embossing, and spot varnishing requires thinking of the project as a technical and aesthetic composition. By starting with solid paper engineering, respecting the industrial process, and limiting the number of visual elements, you will obtain objects that express luxury without exaggerating it. To learn more, discover how Maestro oversees the entire chain, from photogravure to factories in Italy and China, on maestro-manufacture.com.